

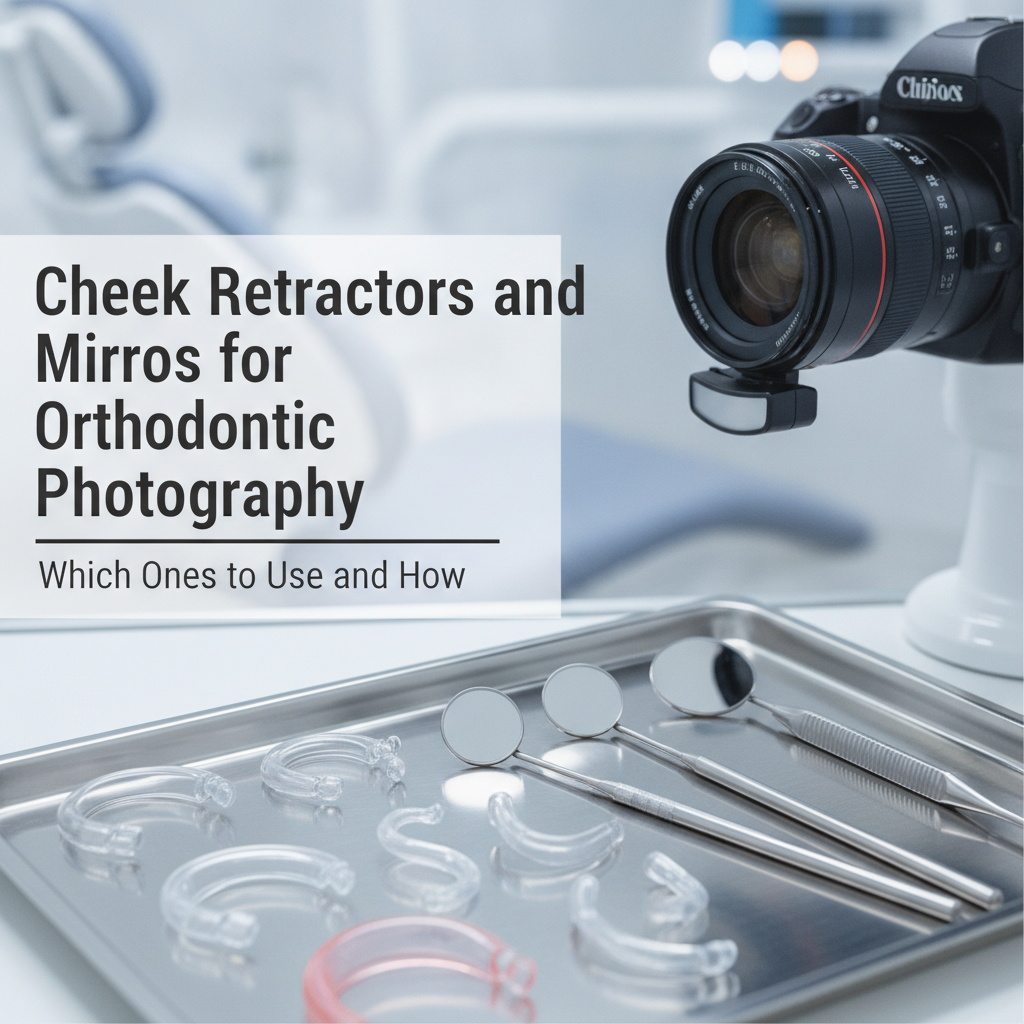
High-quality diagnostic intraoral photos require specialized dental retractors and rhodium-coated mirrors to capture clear, shadow-free views of the dentition. Selecting the appropriate dental cheek retractor—such as double-ended clear plastic retractors for anterior and buccal shots, or specialized lip retractors for occlusal captures—ensures proper soft-tissue retraction while maintaining patient comfort. When paired with pre-warmed front-surface mirrors, these essential instruments eliminate ghosting, fogging, and tissue interference in routine orthodontic documentation.
What Are the Best Cheek Retractors for Extraoral and Intraoral Photos?
The choice of cheek retractors directly influences the exposure, lighting, and clarity of orthodontic records. Selecting the correct retractor design depends on the specific anatomical view required, whether capturing full-arch buccal photos or focused occlusal surfaces.
Double-Ended Plastic Retractors for Standard Views
Double-ended clear plastic retractors are the standard instrument for routine orthodontic photography. Featuring a smaller curve on one end and a larger curve on the opposite end, these dental retractors accommodate diverse patient anatomies, from pediatric to adult patients. Clear polycarbonate construction allows ambient and flash light to pass through, reducing harsh shadows along the buccal mucosa.
In practice, using transparent cheek retractors increases overall image exposure by up to 15% compared to opaque metal alternatives. They are particularly effective for full-face frontal intraoral photos, where equal tension must be applied to both right and left commissures simultaneously.
Self-Retracting (V-Shaped) Retractors for Efficiency
For solo operators or high-volume clinical settings, self-retaining dental cheek retractor models streamline the workflow. These single-piece units use a flexible plastic arch connecting two cheek cups, maintaining lateral tension without requiring manual assistance from staff or the patient.
While highly efficient, clinical staff must ensure the central arch of the retractor does not rest tightly against the anterior gingiva, which can cause patient discomfort or tissue distortion in anterior diagnostic images.
Black or Metal Lip Retractors for Occlusal Visualization
Capturing accurate maxillary and mandibular occlusal views requires specialized retraction. Standard double-ended retractors often fail to clear the upper or lower lip from the focal plane. In contrast, dedicated V-notched or single-ended lip retractor dental tools allow the clinician to pull the lip outward and away from the incisal edges.
Black plastic or matte metal retractors are preferred for occlusal views because non-reflective surfaces eliminate glare and create a dark, clean background that highlights incisal edges and arch form.
🥧 Primary Causes of Rejected Intraoral Photos
Which Intraoral Mirrors Are Necessary for Orthodontic Imaging?
Intraoral mirrors extend the camera’s line of sight into posterior regions and allow for direct perpendicular views of occlusal surfaces. The optical quality of the mirror determines the sharpness and accuracy of the resulting intraoral photos.
Rhodium-Coated vs. Glass Mirrors
Standard household and clinical mouth mirrors utilize rear-surface silver coating, where light travels through glass twice before reflecting. This creates a secondary faint reflection known as "ghosting." For professional diagnostic photography, front-surface rhodium or titanium mirrors are required.
Front-surface reflective coatings reflect light directly off the top layer, eliminating refraction artifacts and producing crisp, color-accurate images required for case documentation and board certification standards.
📊 Optical Reflectivity by Mirror Surface Coating
Essential Mirror Shapes: Occlusal and Buccal Profiles
A standardized orthodontic photo set requires two main mirror profiles:
- 1Occlusal Mirrors: Shaped like a tapered paddle to match the curvature of the maxillary and mandibular dental arches. Adult and pediatric sizes should be maintained to ensure proper seating against the posterior tuberosity without triggering a gag reflex.
- 2Buccal Mirrors: Rectangular or slightly tapered long mirrors used to capture lateral occlusion from the canine to the second molar.
"Utilizing front-surface rhodium mirrors reduces optical distortion and ghosting by eliminating double-reflection pathways, ensuring pristine clinical records for diagnostic evaluations."
How to Position Retractors and Mirrors for Optimal Diagnostic Photos
Achieving high-quality intraoral photos depends as much on retraction technique as on camera settings. Improper retractor tension leads to obscured interproximal spaces, tissue distortion, and retakes.
Step-by-Step Technique for Buccal Views
To capture a well-isolated buccal photograph (left or right occlusion):
- 1Insert Retractors: Moisten the cheek retractors with water prior to insertion to prevent lip chapping or tearing at the commissures.
- 2Adjust Tension: Shift tension dynamically. Pull the retractor on the side being photographed back toward the ear, while relaxing the opposite retractor slightly forward to slacken the cheek tissue.
- 3Insert Buccal Mirror: Place the distal edge of the buccal mirror posterior to the last fully erupted molar. Angle the mirror outward against the cheek mucosa to create space between the mirror surface and the teeth.
- 4Capture: Frame the mirror reflection perpendicularly to avoid foreshortening the premolar and molar crowns.
💡 Tip
Always moisten plastic cheek retractors with tap water or warm rinse before placement. Inserting dry retractors against dry lips causes patient discomfort and can stick to delicate mucosal tissue.
Step-by-Step Technique for Occlusal Views
Occlusal photography requires strict coordination between the assistant holding the lip retractor dental tool and the clinician positioning the mirror.
- 1Upper/Lower Lip Retraction: For a maxillary view, insert a single-ended lip retractor to lift the upper lip up and away from the central incisors.
- 2Position the Mirror: Insert the wide end of the warmed occlusal mirror toward the palate or floor of the mouth. Rest the back edge gently against the opposing arch's incisors or an unattached tissue barrier.
- 3Drop the Mirror Angle: Pivot the mirror to approximately 45 degrees relative to the occlusal plane.
- 4Frame the Shot: Position the camera lens directly into the center of the mirror face rather than looking directly at the patient's teeth.
How to Prevent Fogging and Equipment Wear During Clinical Imaging
Condensation and scratch damage are the primary operational challenges when using photographic equipment in clinical environments.
Thermal Management and Fog Prevention
Mirror fogging occurs when warm, moisture-laden breath meets the cooler surface of the intraoral mirror. To maintain optical clarity during capture:
Pre-Warm Mirrors: Store mirrors in a dedicated water-bath mirror warmer or submerge them in warm water (approximately 100°F to 105°F / 38°C to 40°C) prior to use.
Continuous Air Flow: Direct a steady stream of air from a 3-way air-water syringe across the face of the mirror while framing the image.
Patient Breathing Instructions: Instruct the patient to breathe slowly through their nose rather than their mouth during the procedure.
"A consistent thermal protocol—pre-warming mirrors combined with a gentle air stream—completely eliminates fogging issues, shortening overall chairtime during photo series acquisition."
Sterilization Protocols for Long-Term Durability
Rhodium-coated intraoral mirrors and plastic dental retractors are susceptible to degradation if processed incorrectly during sterilization protocols.
Autoclaving: Autoclave rhodium mirrors in individual padded sterilization pouches. Avoid stacking heavy stainless steel instruments on top of mirror faces to prevent scratches.
Chemical Disinfection: Avoid acidic solutions or abrasive scrubbers on plastic cheek retractors, as harsh chemicals induce micro-fractures (crazing), turning clear plastic opaque over multiple processing cycles.
Microfiber Care: Wipe front-surface mirrors only with non-abrasive microfiber cloths prior to packaging; standard cotton sponges can leave micro-scratches on rhodium coatings.
Summary of Best Practices for Orthodontic Photography Equipment
Standardizing intraoral photography tools improves clinical efficiency and ensures consistent diagnostic records across all team members.
Select the Correct Tool: Match double-ended clear cheek retractors for buccal views and specialized lip retractors for occlusal views.
Invest in Optics: Use front-surface rhodium or titanium mirrors to prevent ghosting and ensure true-to-life color rendering.
Control Temperature: Pre-warm intraoral mirrors and apply continuous gentle air flow to eliminate fogging.
Protect Equipment: Handle rhodium surfaces with non-abrasive microfiber products and use protective sterilization pouches to maximize instrument lifespan.
By applying these standardized selection criteria and positioning techniques, clinical teams maintain predictable, high-quality intraoral photos for diagnostic planning, patient communication, and case tracking.
